
”When it comes stock photography, it’s not only living products and people that make it interesting; product photography can be very fun, especially if you are doing it right. We’ve listed our top tips for mastering industry-standard product photography techniques.
Table of Contents
Choose the Correct Aperture
This may sound a bit obvious, but it’s important to choose the right aperture according to the type of image you are after. It’s surprising how few photographers actually do this!
For product photography, specifically lifestyle or solid wall studio photography, it’s recommended to choose one of these three methods:
- The widest aperture for lifestyle product shots. This is best to ensure that the product remains the focus point and the centre of attention. All other things in the image are just complementary and should blend in naturally. Ensure that you’re shooting from a far enough angle.
- Keep the aperture to 2.8 or around there, for shots featuring another object or model along with the product you are focusing on. This means that the product and the other object will stay in focus but the background won’t empower it too much. The important thing is to ensure you get the audience to pay attention to the product you are showcasing.
- Use a narrow aperture when just doing products in a studio. Your product will be separated from the wall by the lighting so ensure that your aperture is set large enough to absolutely capture all of the product’s details as carefully as possible.

Image Credit to: photographylife.com
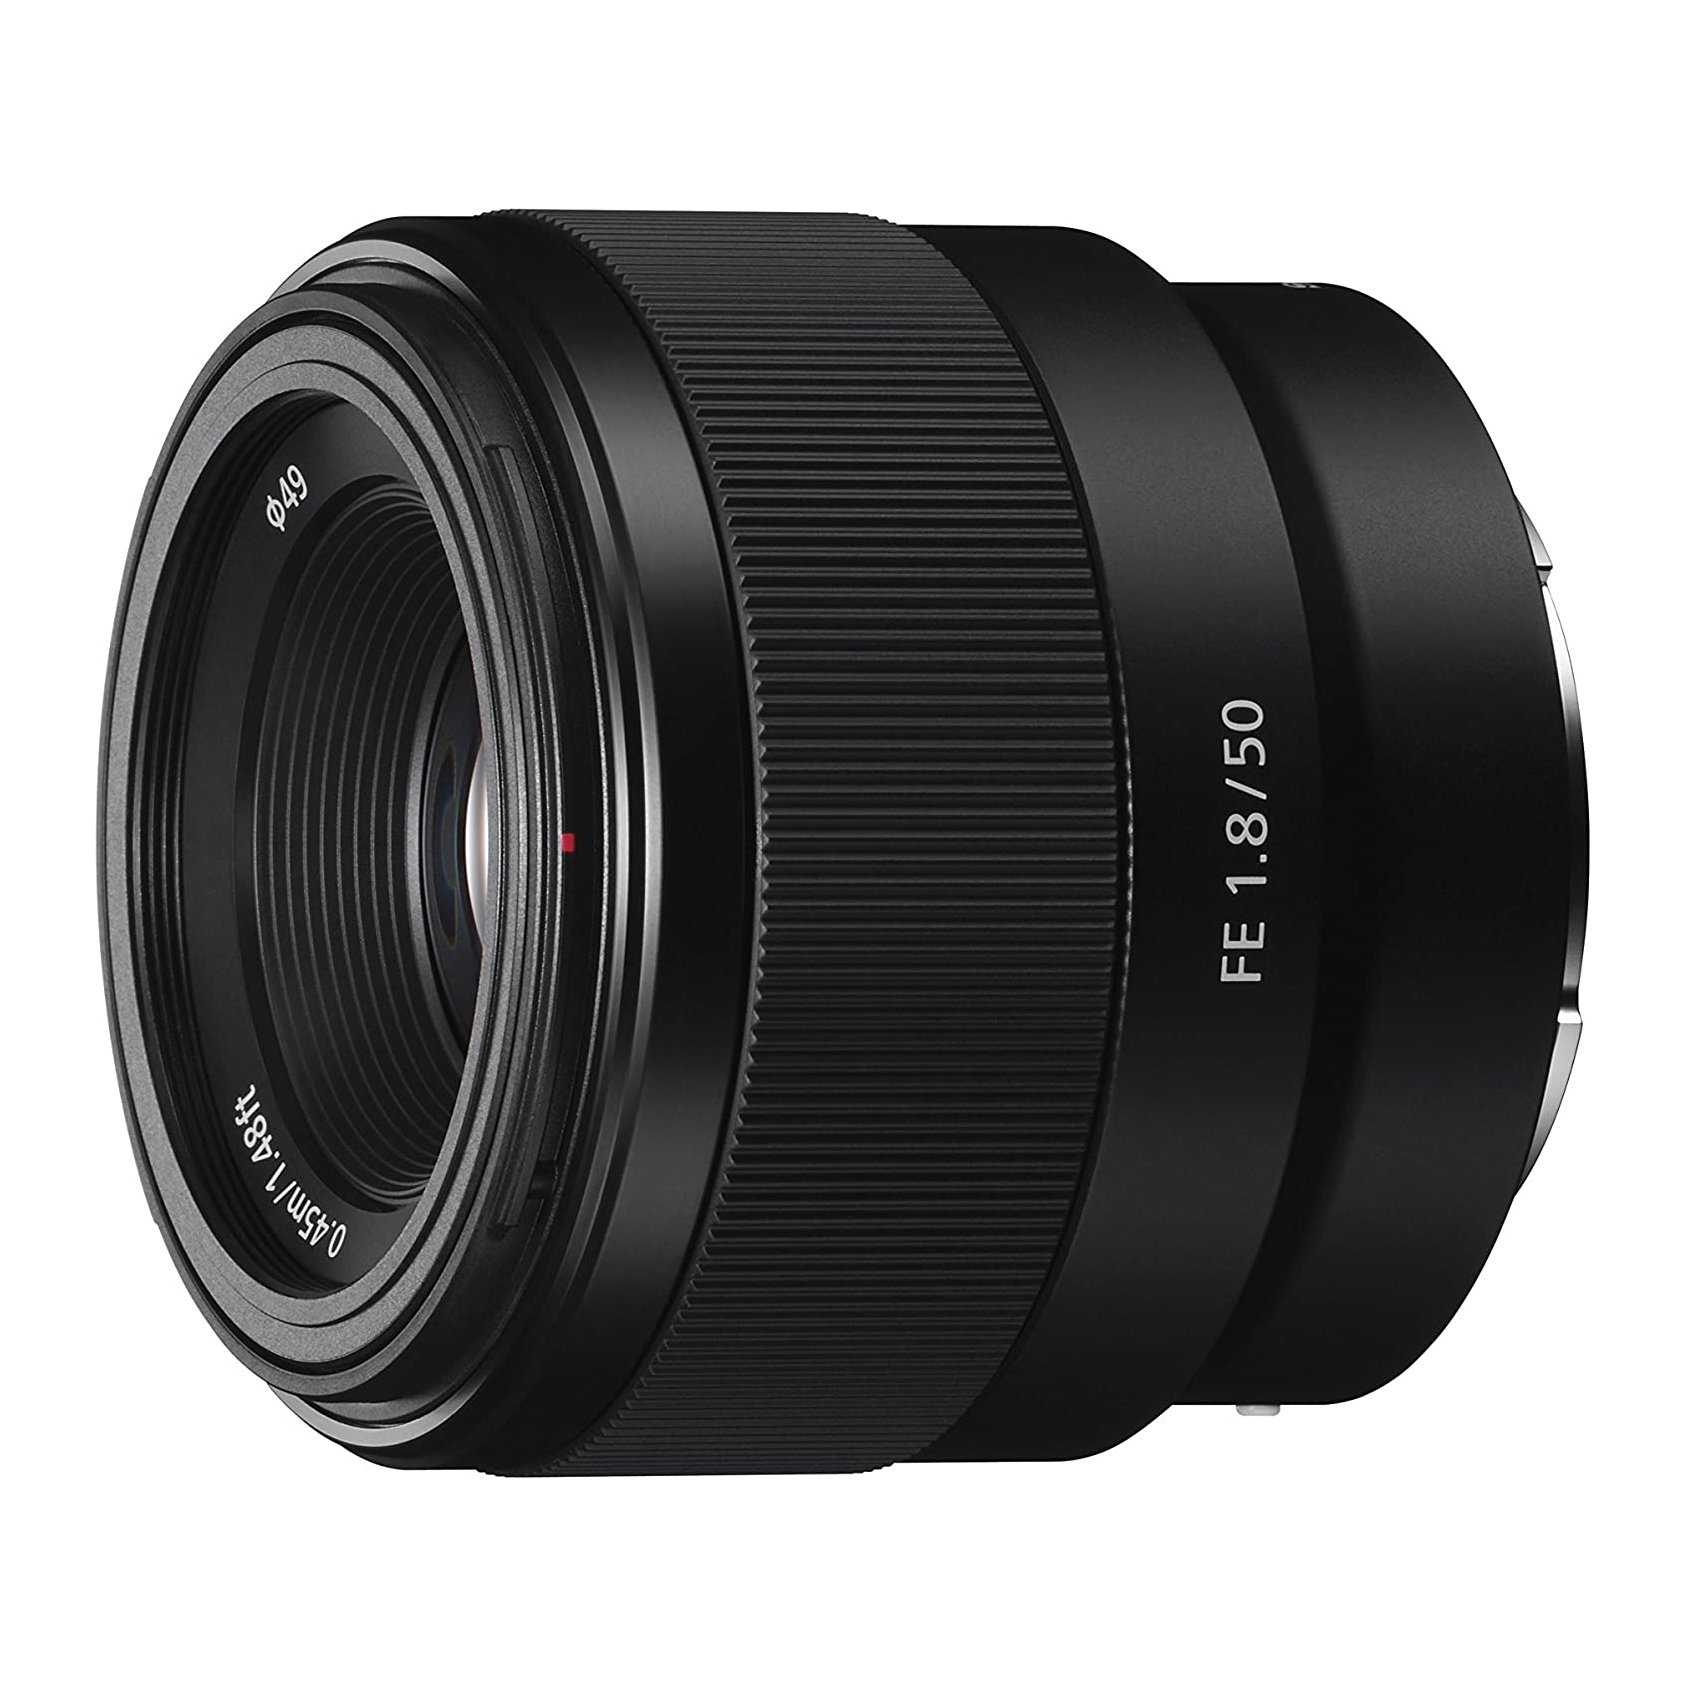
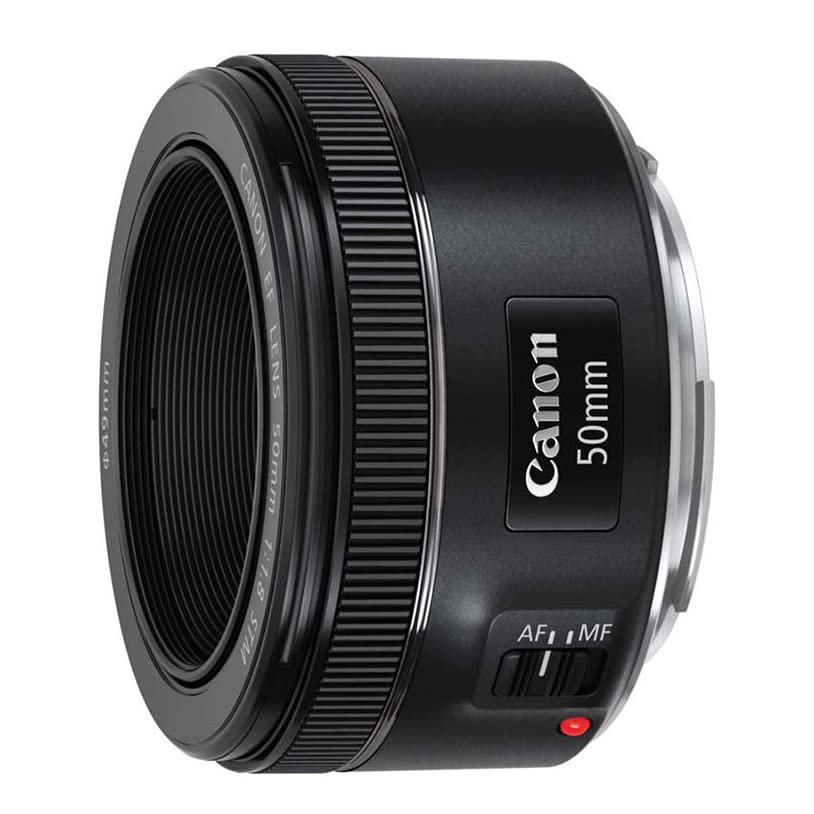
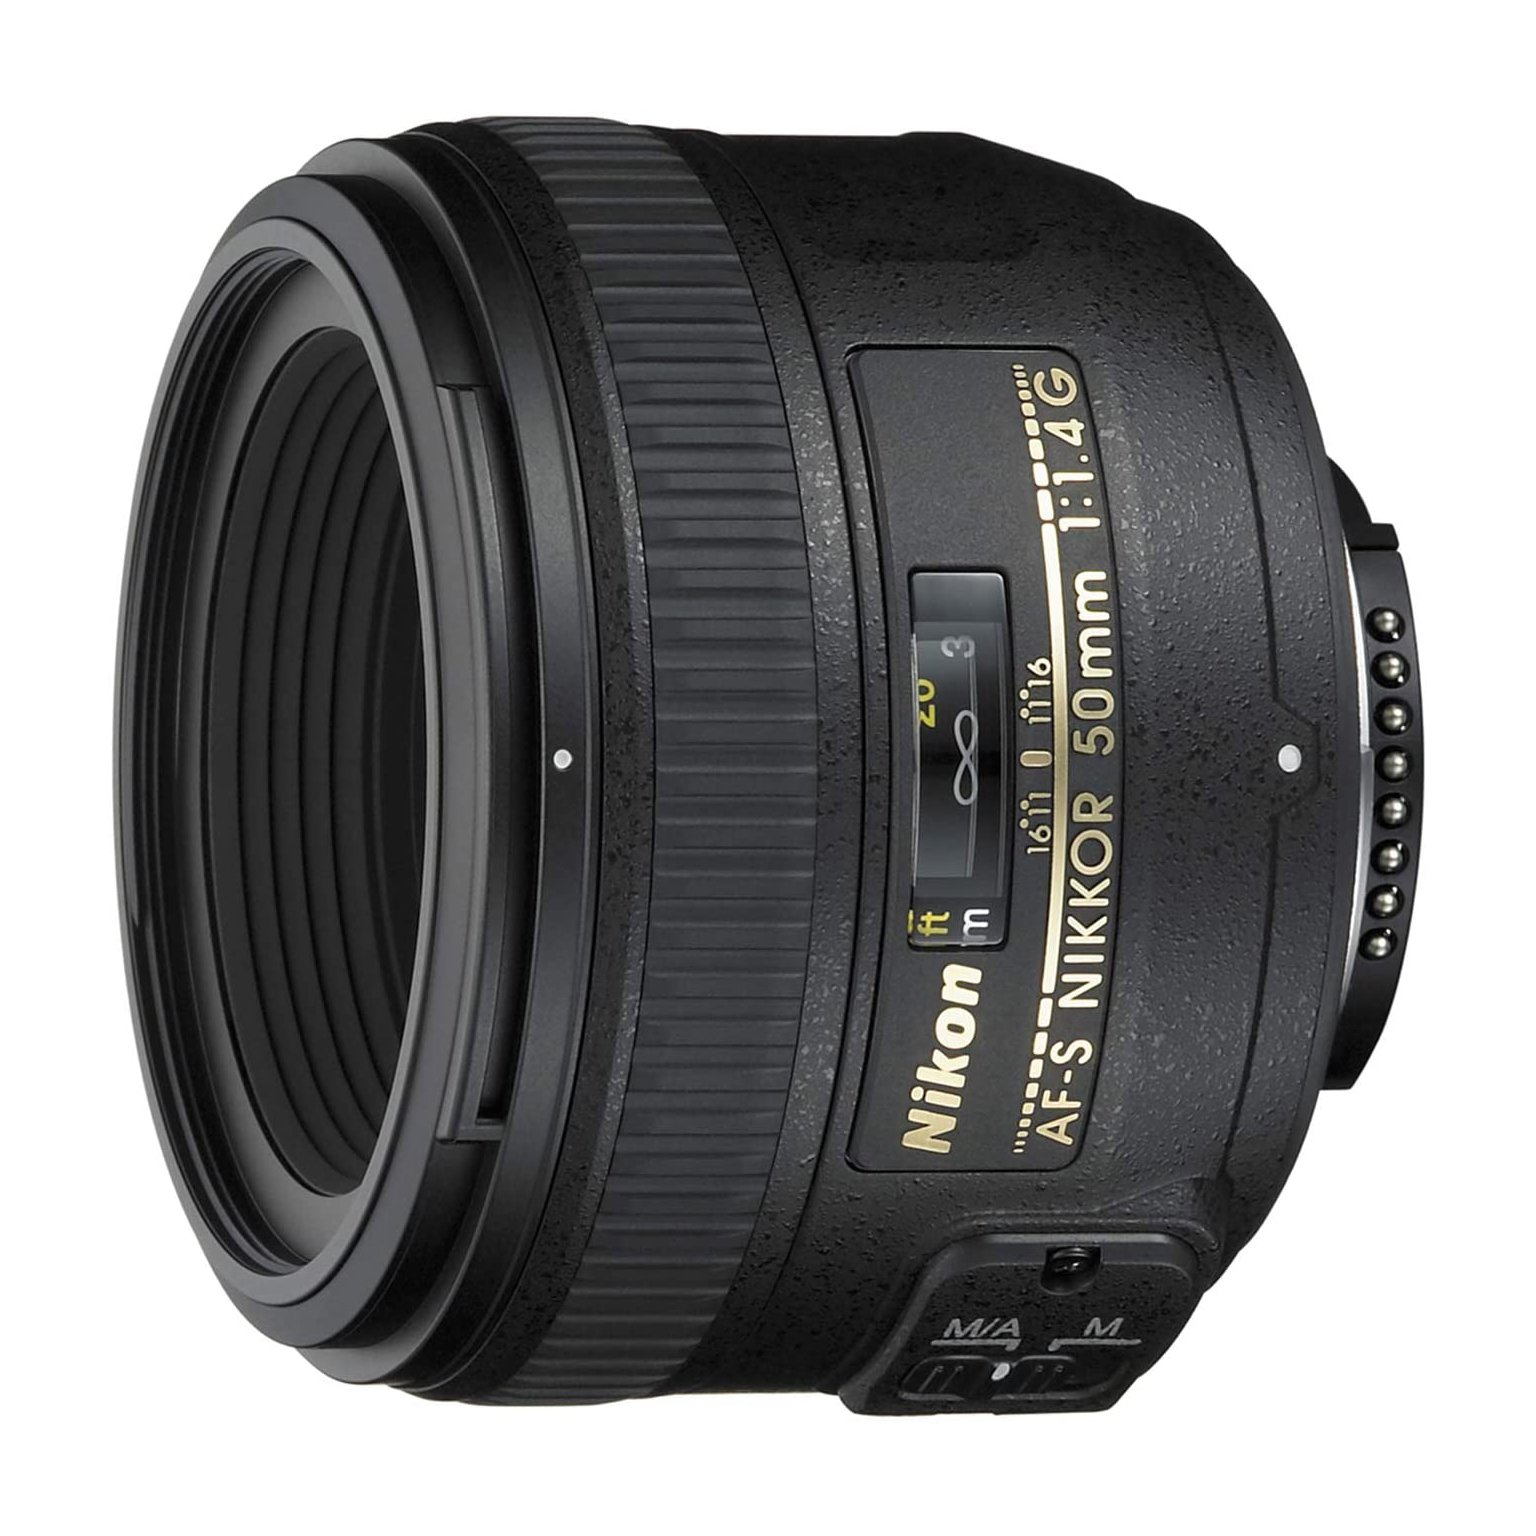
Using a Standard Lens
It’s important to ensure your product is not distorted at all. Wide angle lenses can often disrupt the proportions of products or items in the image, so since you are focusing on product photography, you need it to accurately represent the specific item or product so that it doesn’t cause issues with customers.
Normal lenses, or standard lenses, are the closest to the human eye in terms of perspective. They do not lead to misrepresentation or changes in the focus. The most commonly used focal length for standard lenses is 50mm, with focal lengths between 40-58mm still considered to be normal.

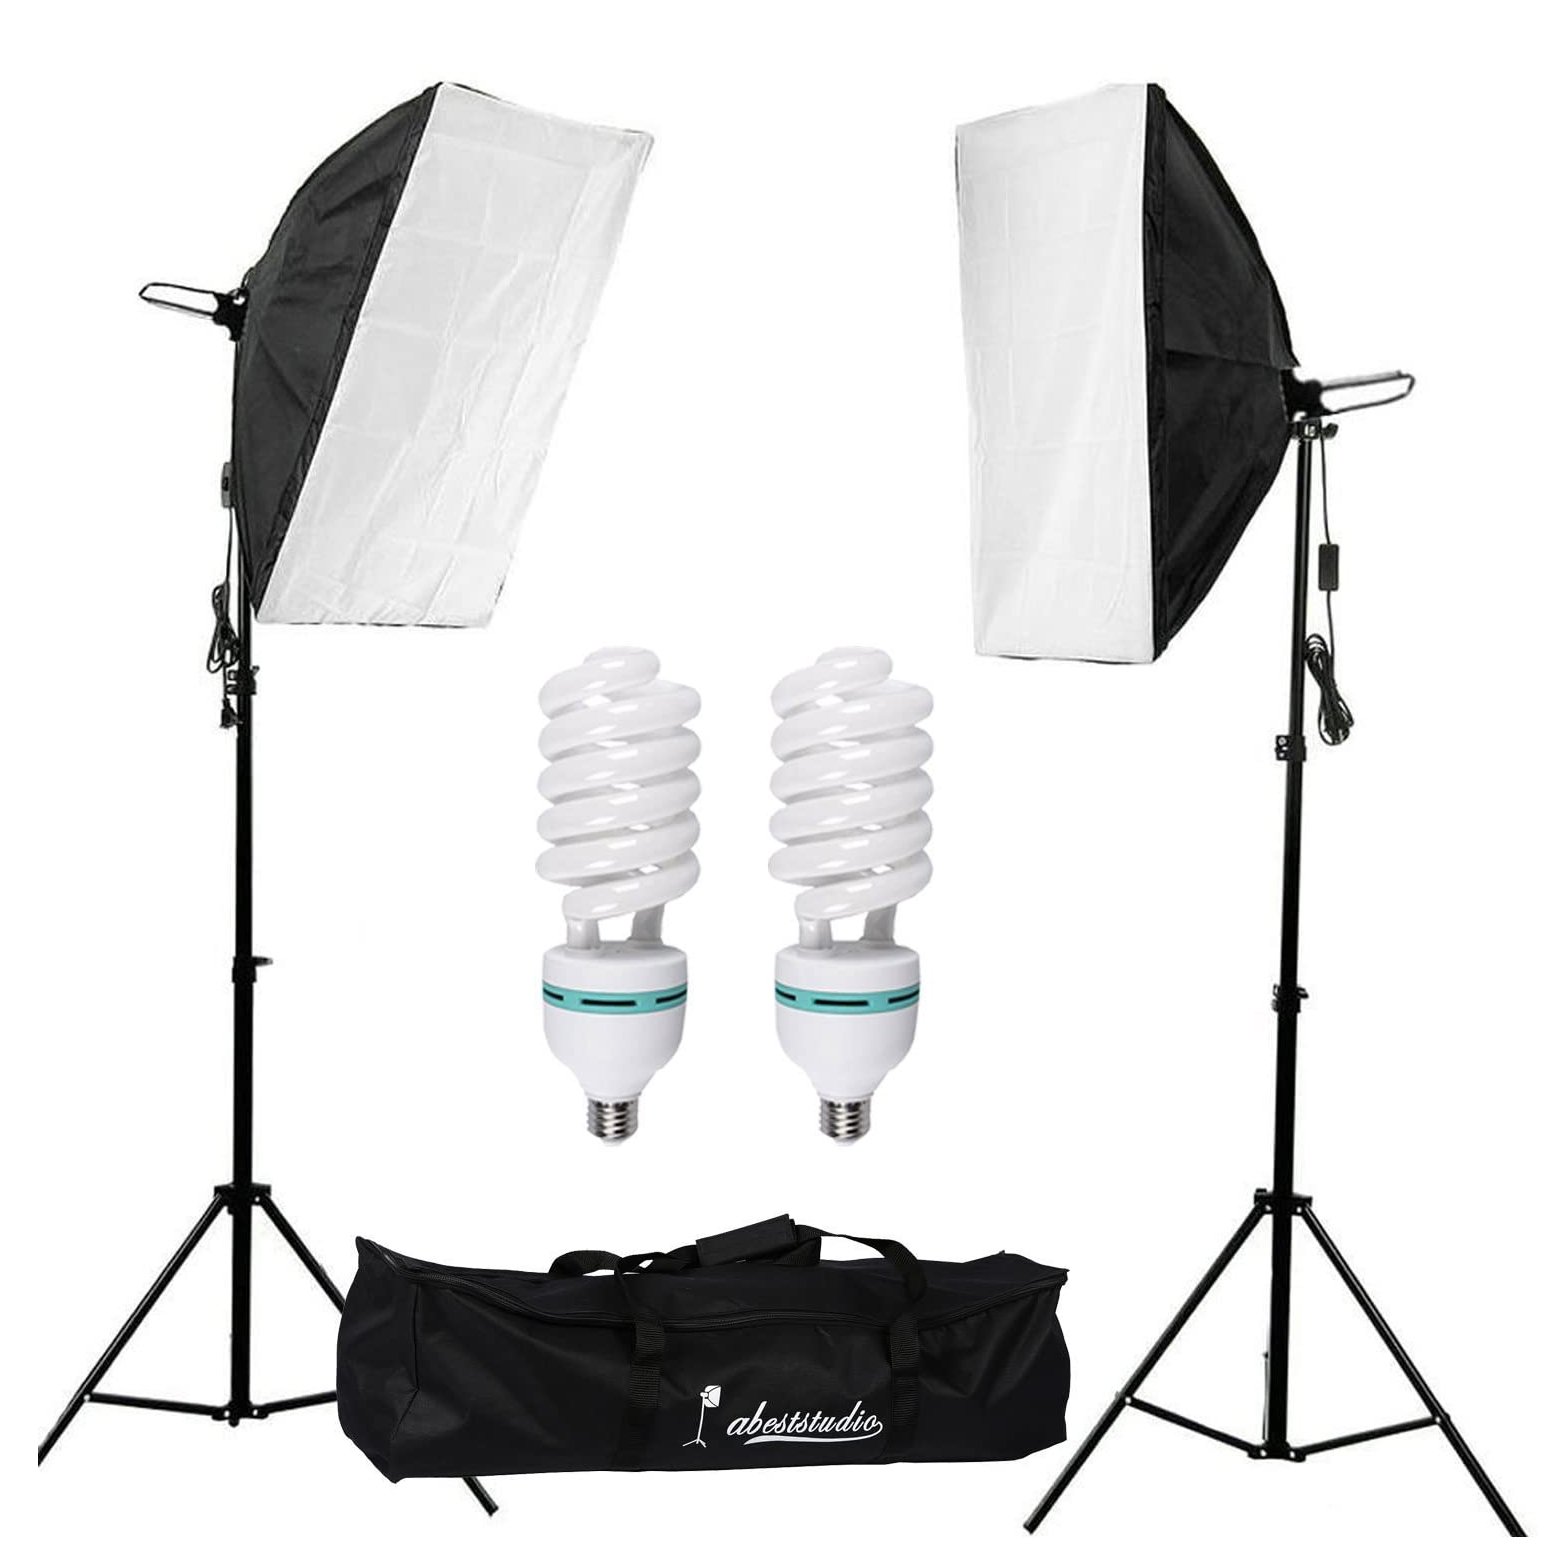
Studio Lighting for Products
The key when it comes to lighting in a product studio, is to make sure your product is properly lit and removed from the background. But, depending on the intention of the image (whether it’s an editorial for a site, or an eCommerce photography like eBay or Amazon), the lighting parameters won’t be the same; but the overall consensus is the same.
While you can get product photography kits specifically to help with lighting, if you’re not using one of them, here’s a simple way to illuminate your product:
- Aim for two background lights on both sides of the product. Ensure they don’t focus on the product, but rather on the background. This helps to separate the wall from the product.
- Aim a light above the product and in front of it. As a result, there is proper light for the product and the light above will ensure there is no shadow.
Think it’s hard to eliminate a horizontal line? It really is possible! Simply bend a larger piece of white paper at the horizon line and then you can stick it to the floor and wall.
You need a uniform look, specifically for eCommerce shots, where you need to have the product on a white background.
The Use of a Diffuser
You’ll always want to diffuse studio lighting so that the light is evenly spread over and around the product, rather than throwing hot spots (overexposed spots in the image). Hotspots are unflattering and difficult to touch up. Besides,for white balance, diffused lighting works better than point lighting.
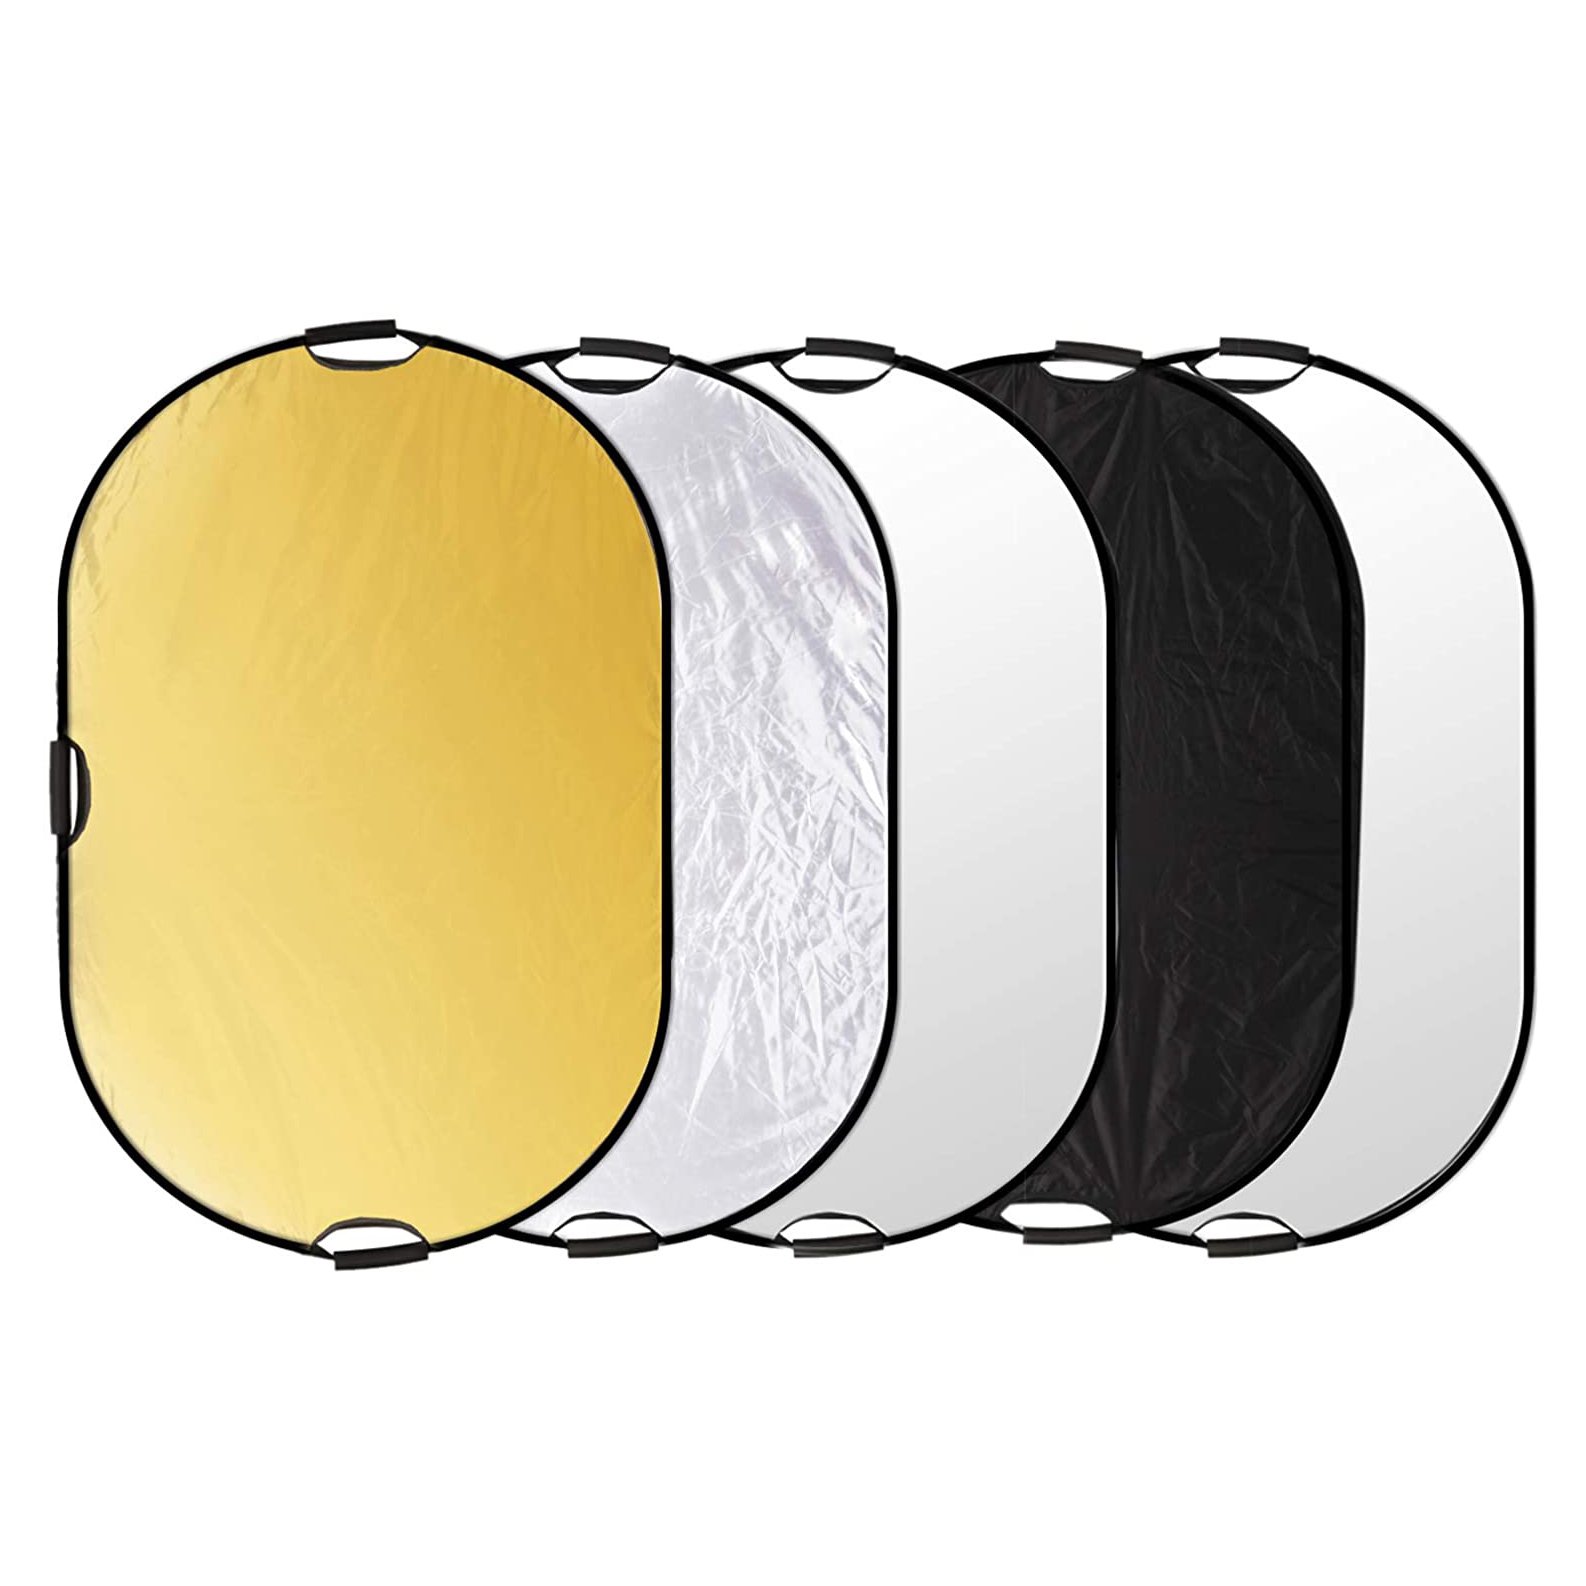
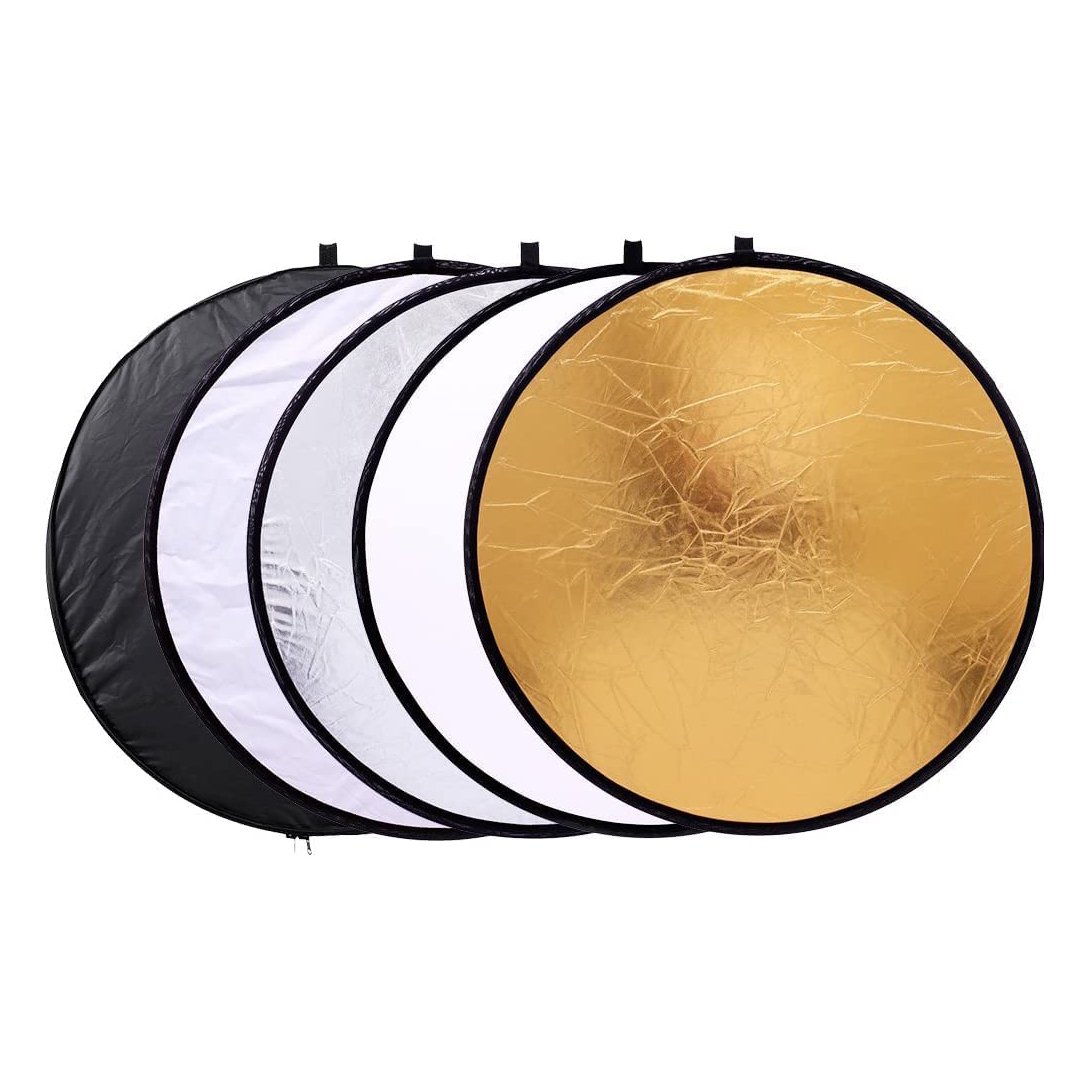
Item No. 01
5 in 1 150 x 200cm Diffuser and Reflectors
Great value for money and highly rated versatile reflectors and diffuser pack.
Item No. 02
5 in 1 30cm Diffuser and Reflectors
Perfect for those working with slightly smaller shoots for manoeuvrability.

Item No. 04
Photography Lightbox
Bounces light around the box to ensure a perfectly bright product photo.
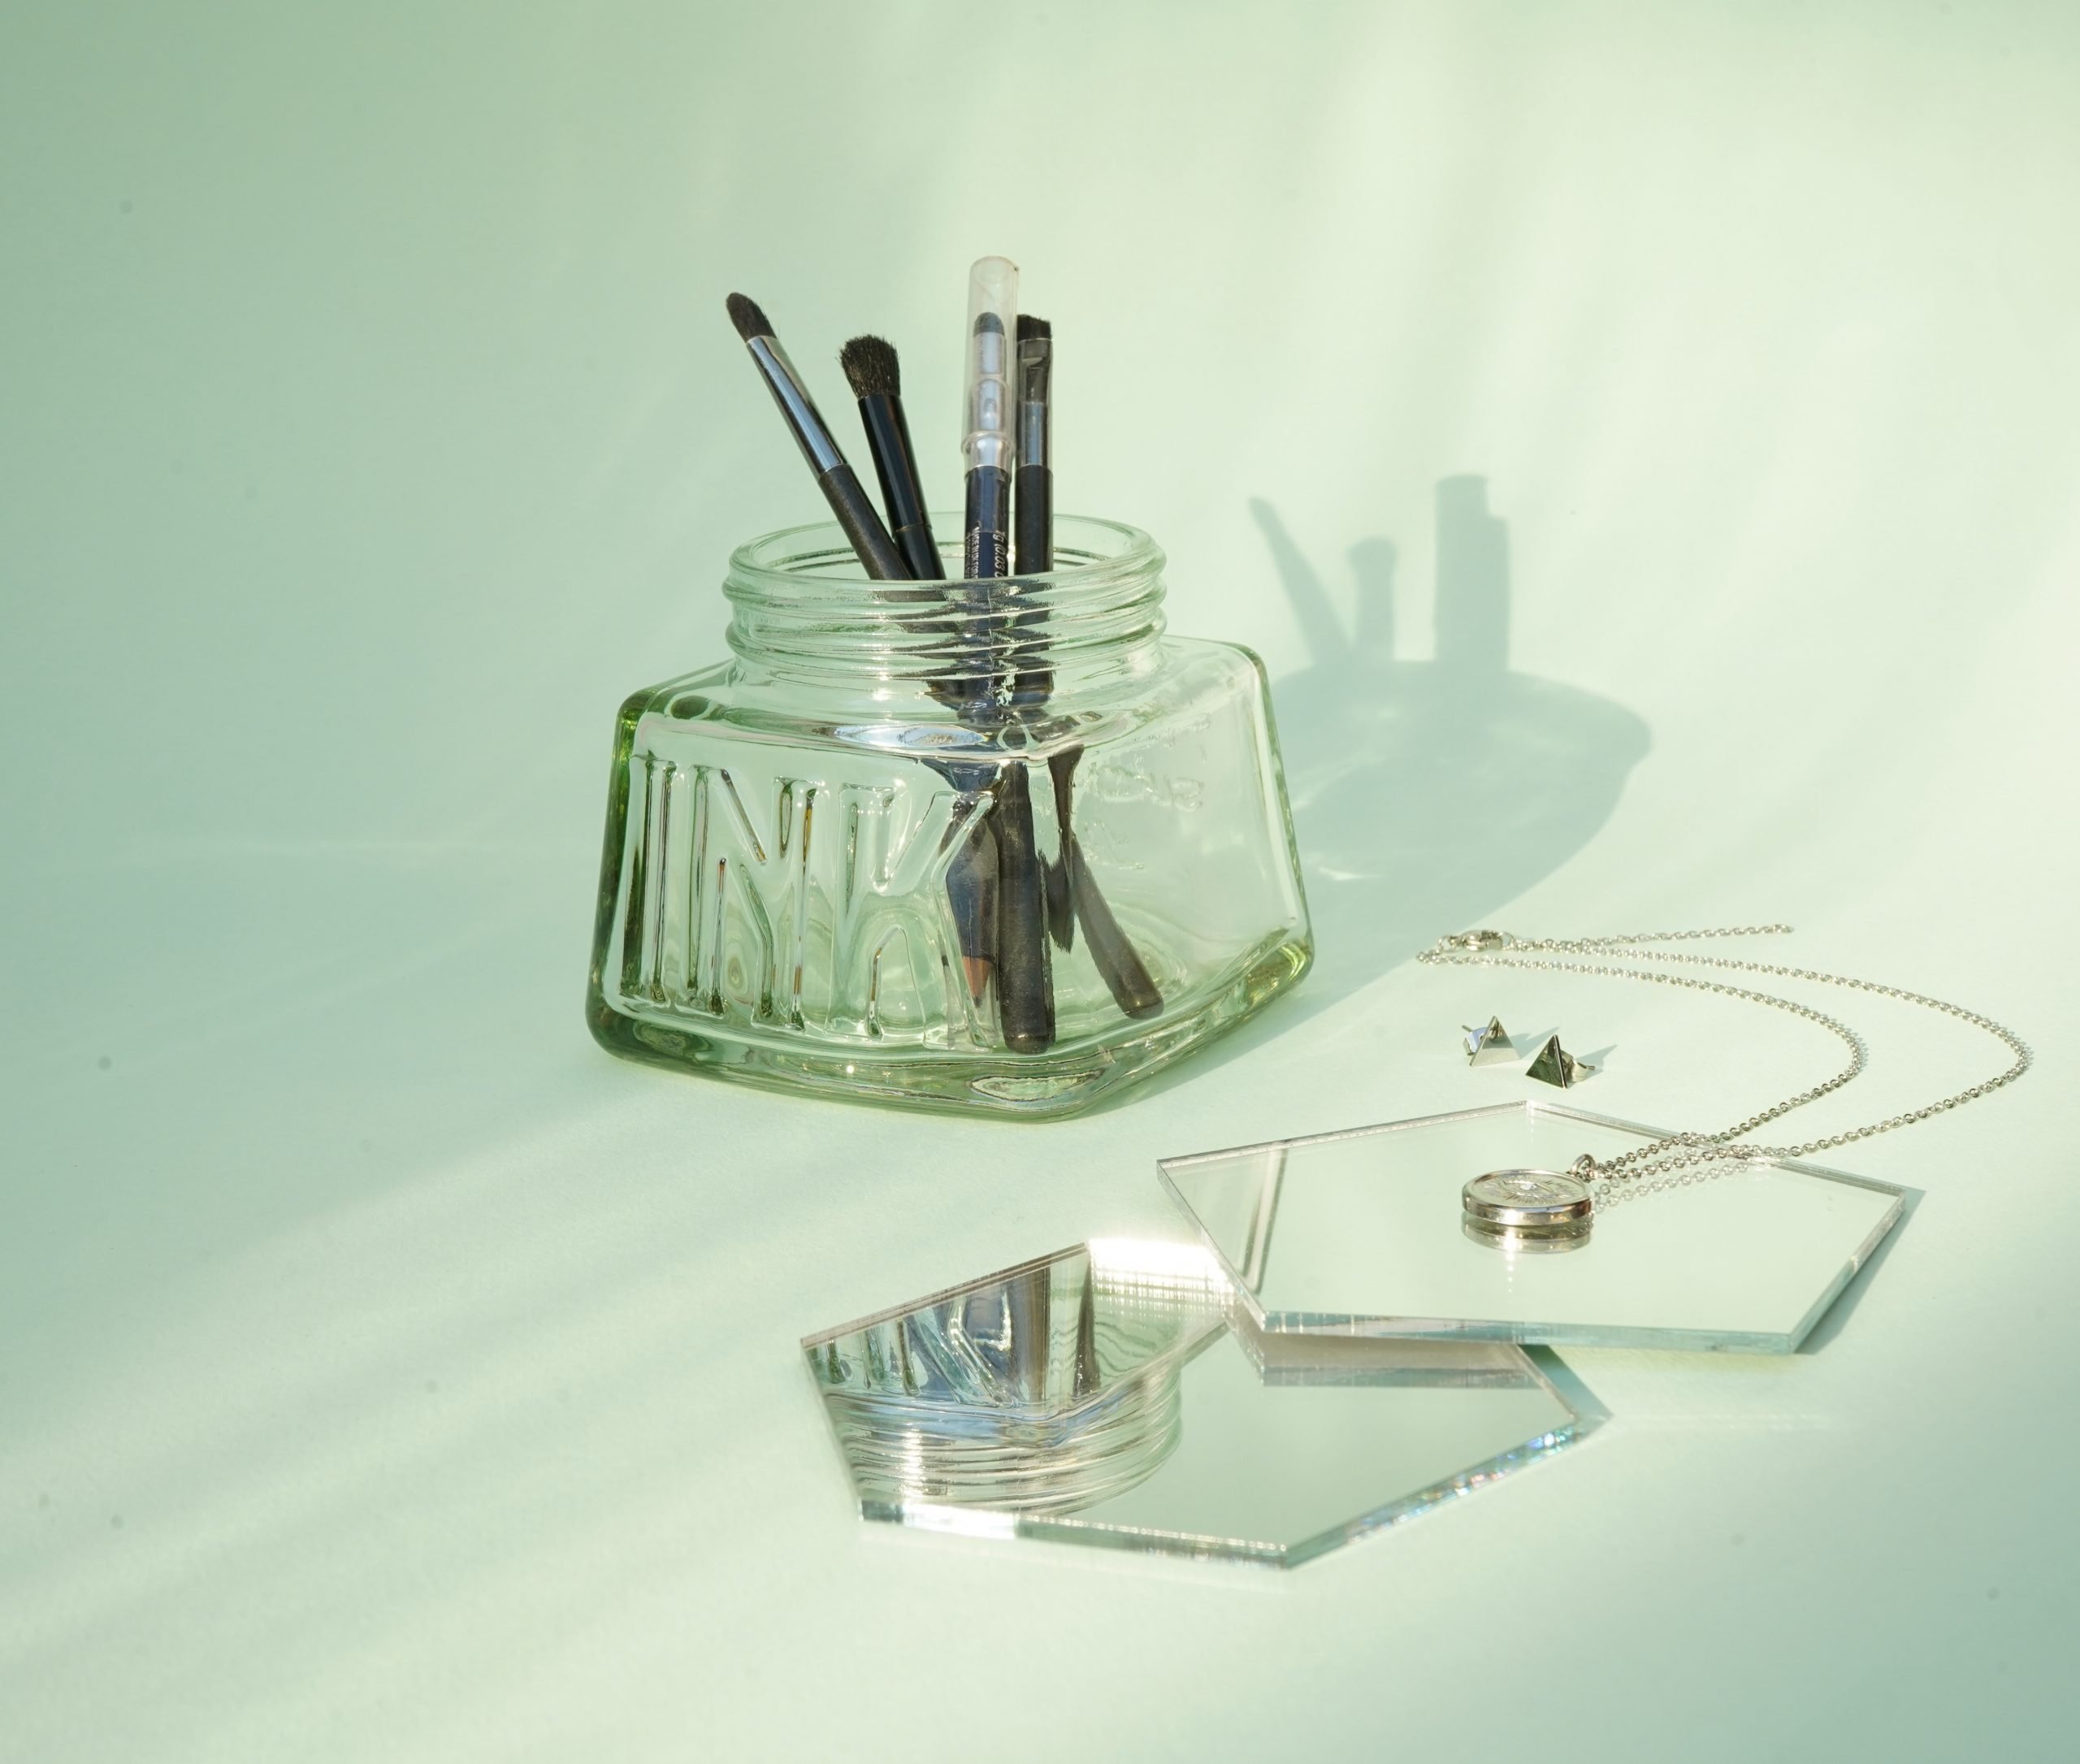
Be Open to Experimenting with Lifestyle Photography
Just because you’re photographing an inanimate item doesn’t mean you shouldn’t mess with photography. You can take time to play with styling, because your topic will not suit you! You never know what might just work out great.
Product Composition and Staging
Image Credit: nisifilters.com.au
Your collection of peculiar items and foam blocks will become your best friends when properly staging a product shoot. Creating layers, depths and illustrating a feeling with your staging is paramount to the success of your photos.
When considering your composition for a product shoot, think through where your focal point will be (your product of course) then consider it’s surroundings. What will be in the foreground? Is it a tropical originals beauty product? If so some foreground out of focus foliage would create a scene more reflective of this. Is it a utensil kitchen pot? Having tiles set up as a backdrop would clearly set the scene, throw in some cooking pots and boiling water/ pasta steam and you’re on your way to smelling the sweet kitchen smells when considering whether to purchase the product or not.
It’s the Idea that Sells
Most photographers will say that the key to selling a product with a photo is selling the product idea. Whether it’s pairing a product with an attractive lifestyle, showing how convenient the product can make your life, or the relevance of the product to a specific theme – the product’s story will sell it better than anything else could.
Photographers have the task of creating a story, atmosphere and world where the product will live. As such, try to capture as many stories as possible in your shot. This is where your creativity and vision really shine.
Properly Tone Colours
As with a standard lens to avoid product distortion, it is also important to maintain colour accuracy. This is fundamental to product photography that focuses on colour, such as clothing.
If your photo changes the colours in any way, it can cause a big problem on both the logistics side of the selling company and the customer side. Imagine ordering light blue jeans because you liked the colour online, but what you got is a completely different colour! Not funny!
In the case of lifestyle product photos, the key to attracting the right customers is colour theory. It is a study of the influence of colours on the human psyche. In simple terms, it means that certain colours or combinations of colours bring out a specific idea, emotion, or feature in a person.
There are four types of colour combinations to use for product photography:
- Complimentary.These are colours that are opposite of each other on the colour wheel. It creates a dynamic and dramatic colour palette and has a lot of contrast.
- Triadic. These are colours that are evenly spread around the colour wheel and lead to vibrant colours that are striking to the eye.
- Split complementary. These are similar to complementary colours but they are easier to achieve and they are not so bold either. Choose two colours that are opposite of each other on the colour wheel, and simply take the two adjacent ones to get a split complementary.
- Analogous. This is a combination where you use colours that are right next to each other on the colour wheel. It creates a comfortable look.

Remember, these tips above are only guidelines – feel free to explore and break the rules sometimes! Use your own judgement for the job at hand and develop your own style as you become more experienced.


