Creating a flat photo is undoubtedly one of the simplest ways of turning an Instagram post into something awesome. But what exactly is it?
Table of Contents
Flat lay photography refers to images shot directly from above. In other words, a view from above showing a collection of objects that are neatly arranged. These types of images have never been more popular than right now – especially in fashion and food photography.
Whether you are looking to create interesting ads for Facebook or just want to boost your personal branding, we’ll walk you through the specific steps required to use flat lay photography for the ideal photo.
A Step-By-Step Guide
Let’s take a look at how you can create the perfect flat lay photograph with this step-by-step guide.
Start with Inspiration
Start by getting inspiration for your photography by browsing Instagram or Pinterest to get an idea of how flat lay images look and what is popular. You can browse a few different pins and feeds so that you get a good overview of the different backgrounds, styles, and themes used.
Get the Background Right
Choose the background for your flat lay carefully. Plain white colour is quite effective and also popular among photographers, however, don’t let that stop you from experimenting with different colours. You can also add beautiful textures like fabric, corkboard, wood, or wallpaper – to enhance the theme.
Tip: When you set up your background, keep it plain and simple. White works well because it won’t distract from the props. Another option is to go with a neutral colour such as a wooden background or a table.
Choose Your Lighting
Natural daylight is quite popular among photographers and leads to amazing results. It reduces shadows that can really ruin a flat lay photo. A good tip is to set up the photo with the windows facing east or north. This will create a softer photo and diffused light. Sunlight from west and south-facing windows is often stronger and may cause unwanted shadows.
Another way to avoid shadows is to place matte white or grey boards around the kit, creating a “closed kit”, while a series of bounces from an auxiliary flash angled towards the ceiling will also reduce the risk of shadows. However, drop shadows can often be a good addition to the effect of flat layers so it may be a good idea to experiment with a few layouts to get the best result.
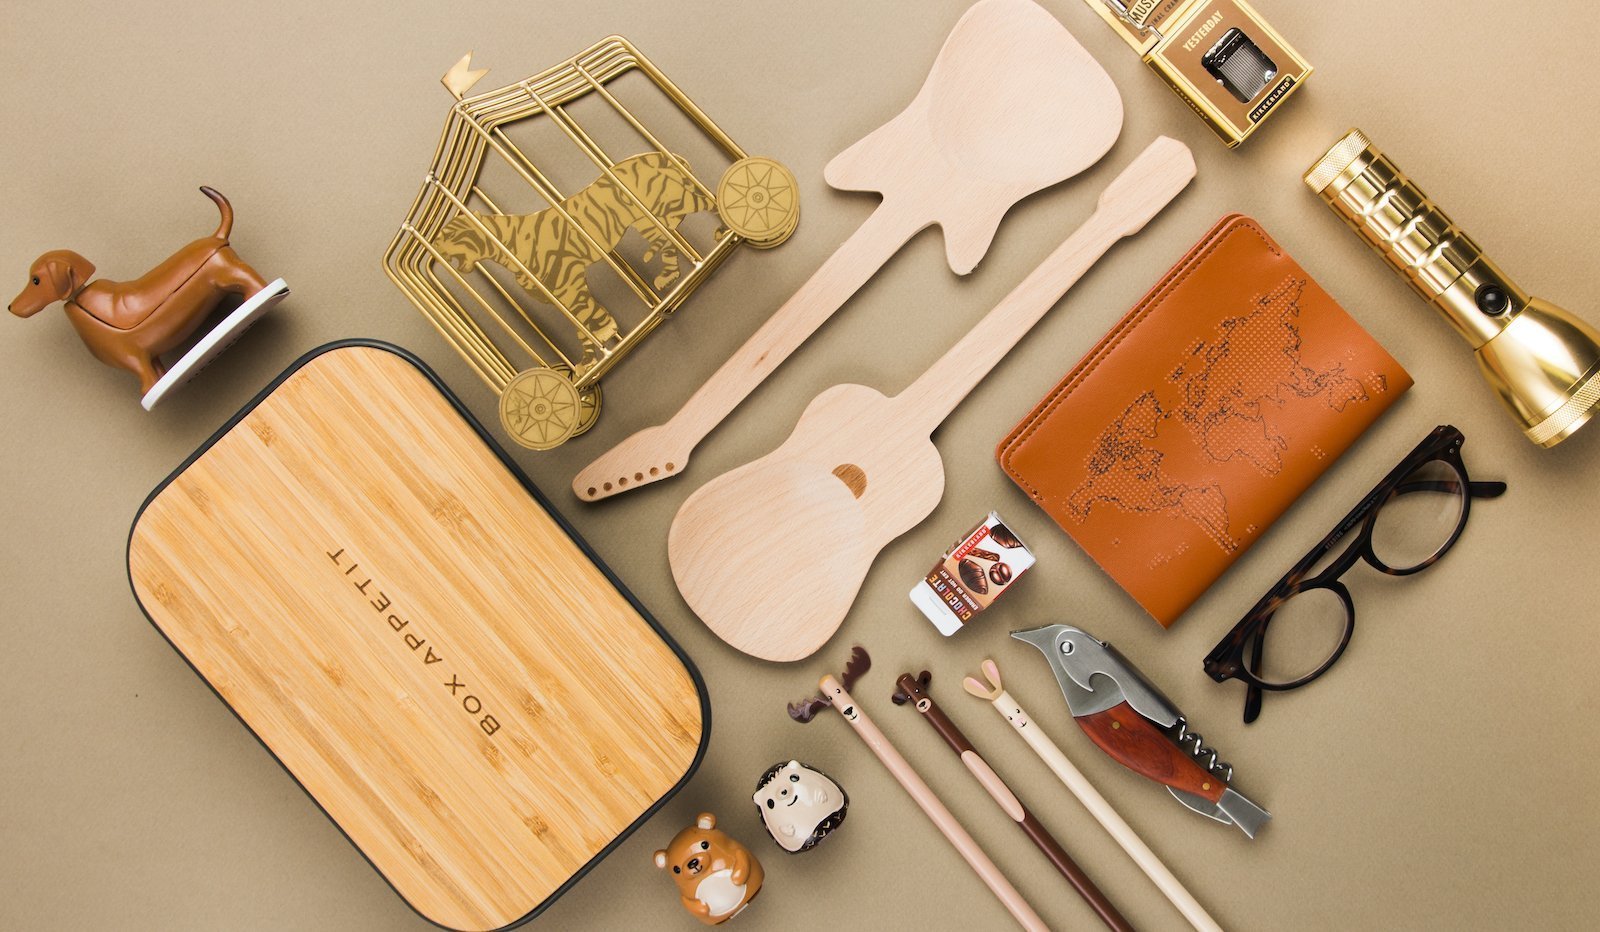
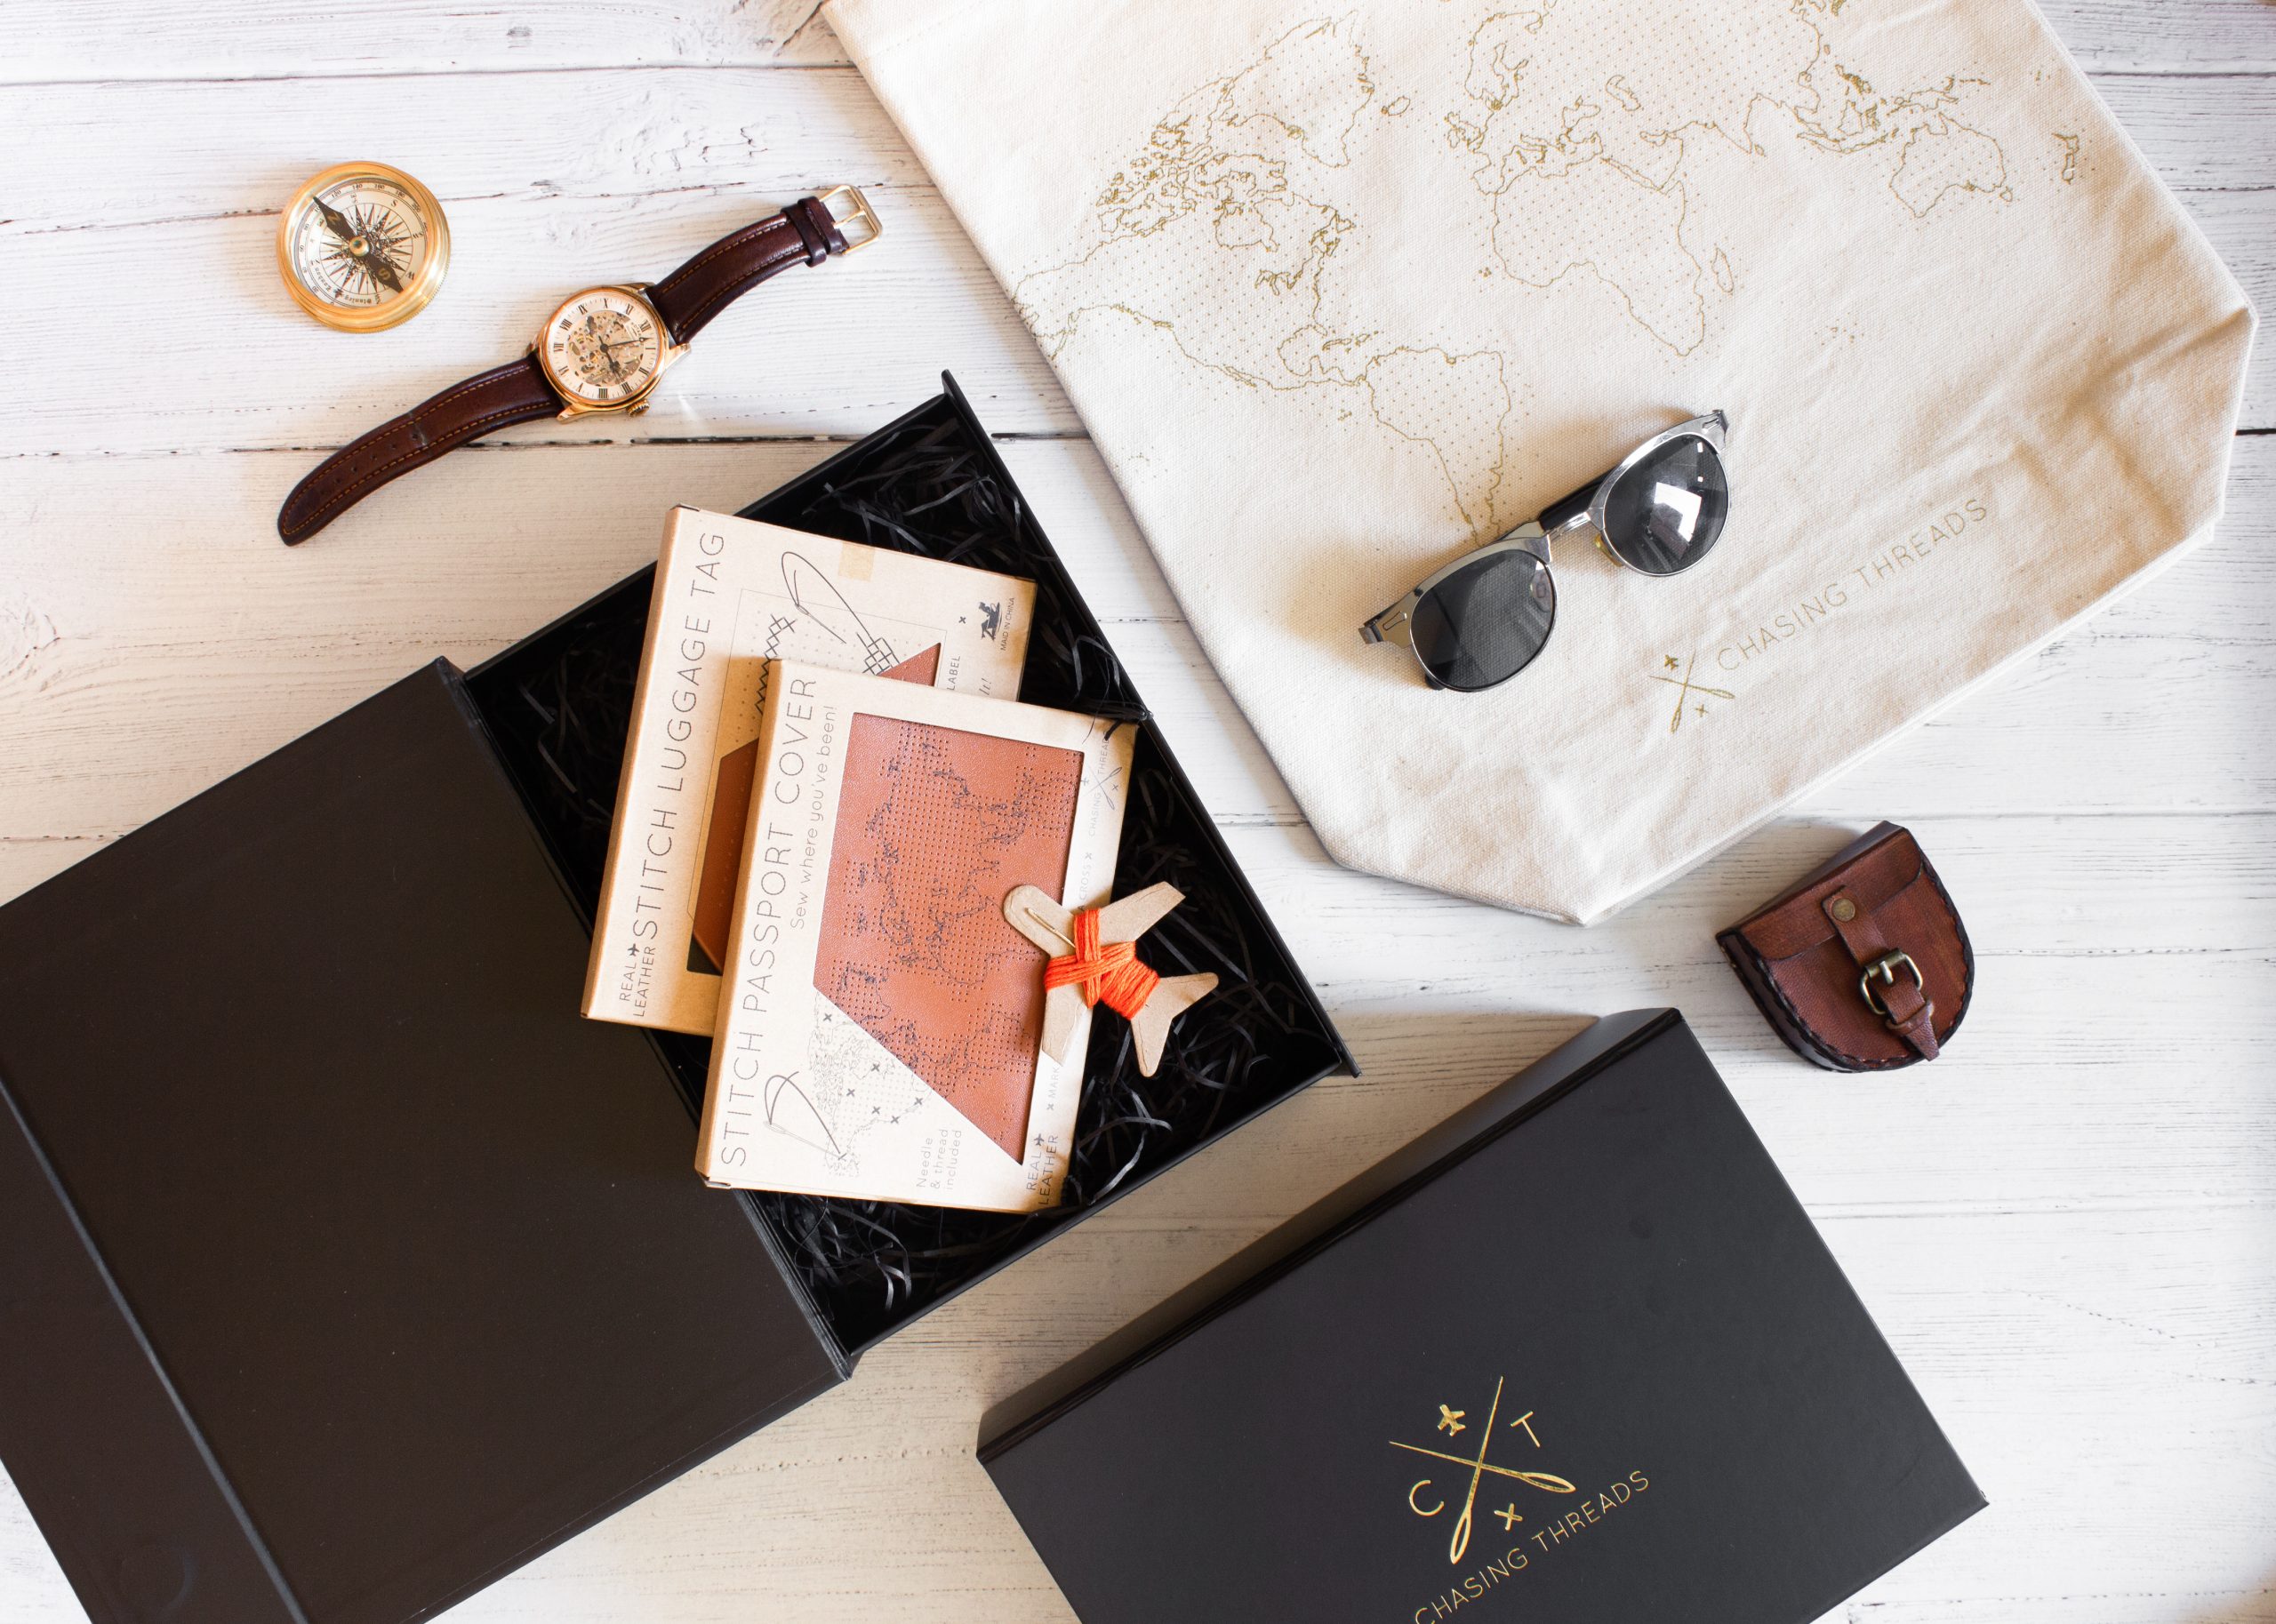
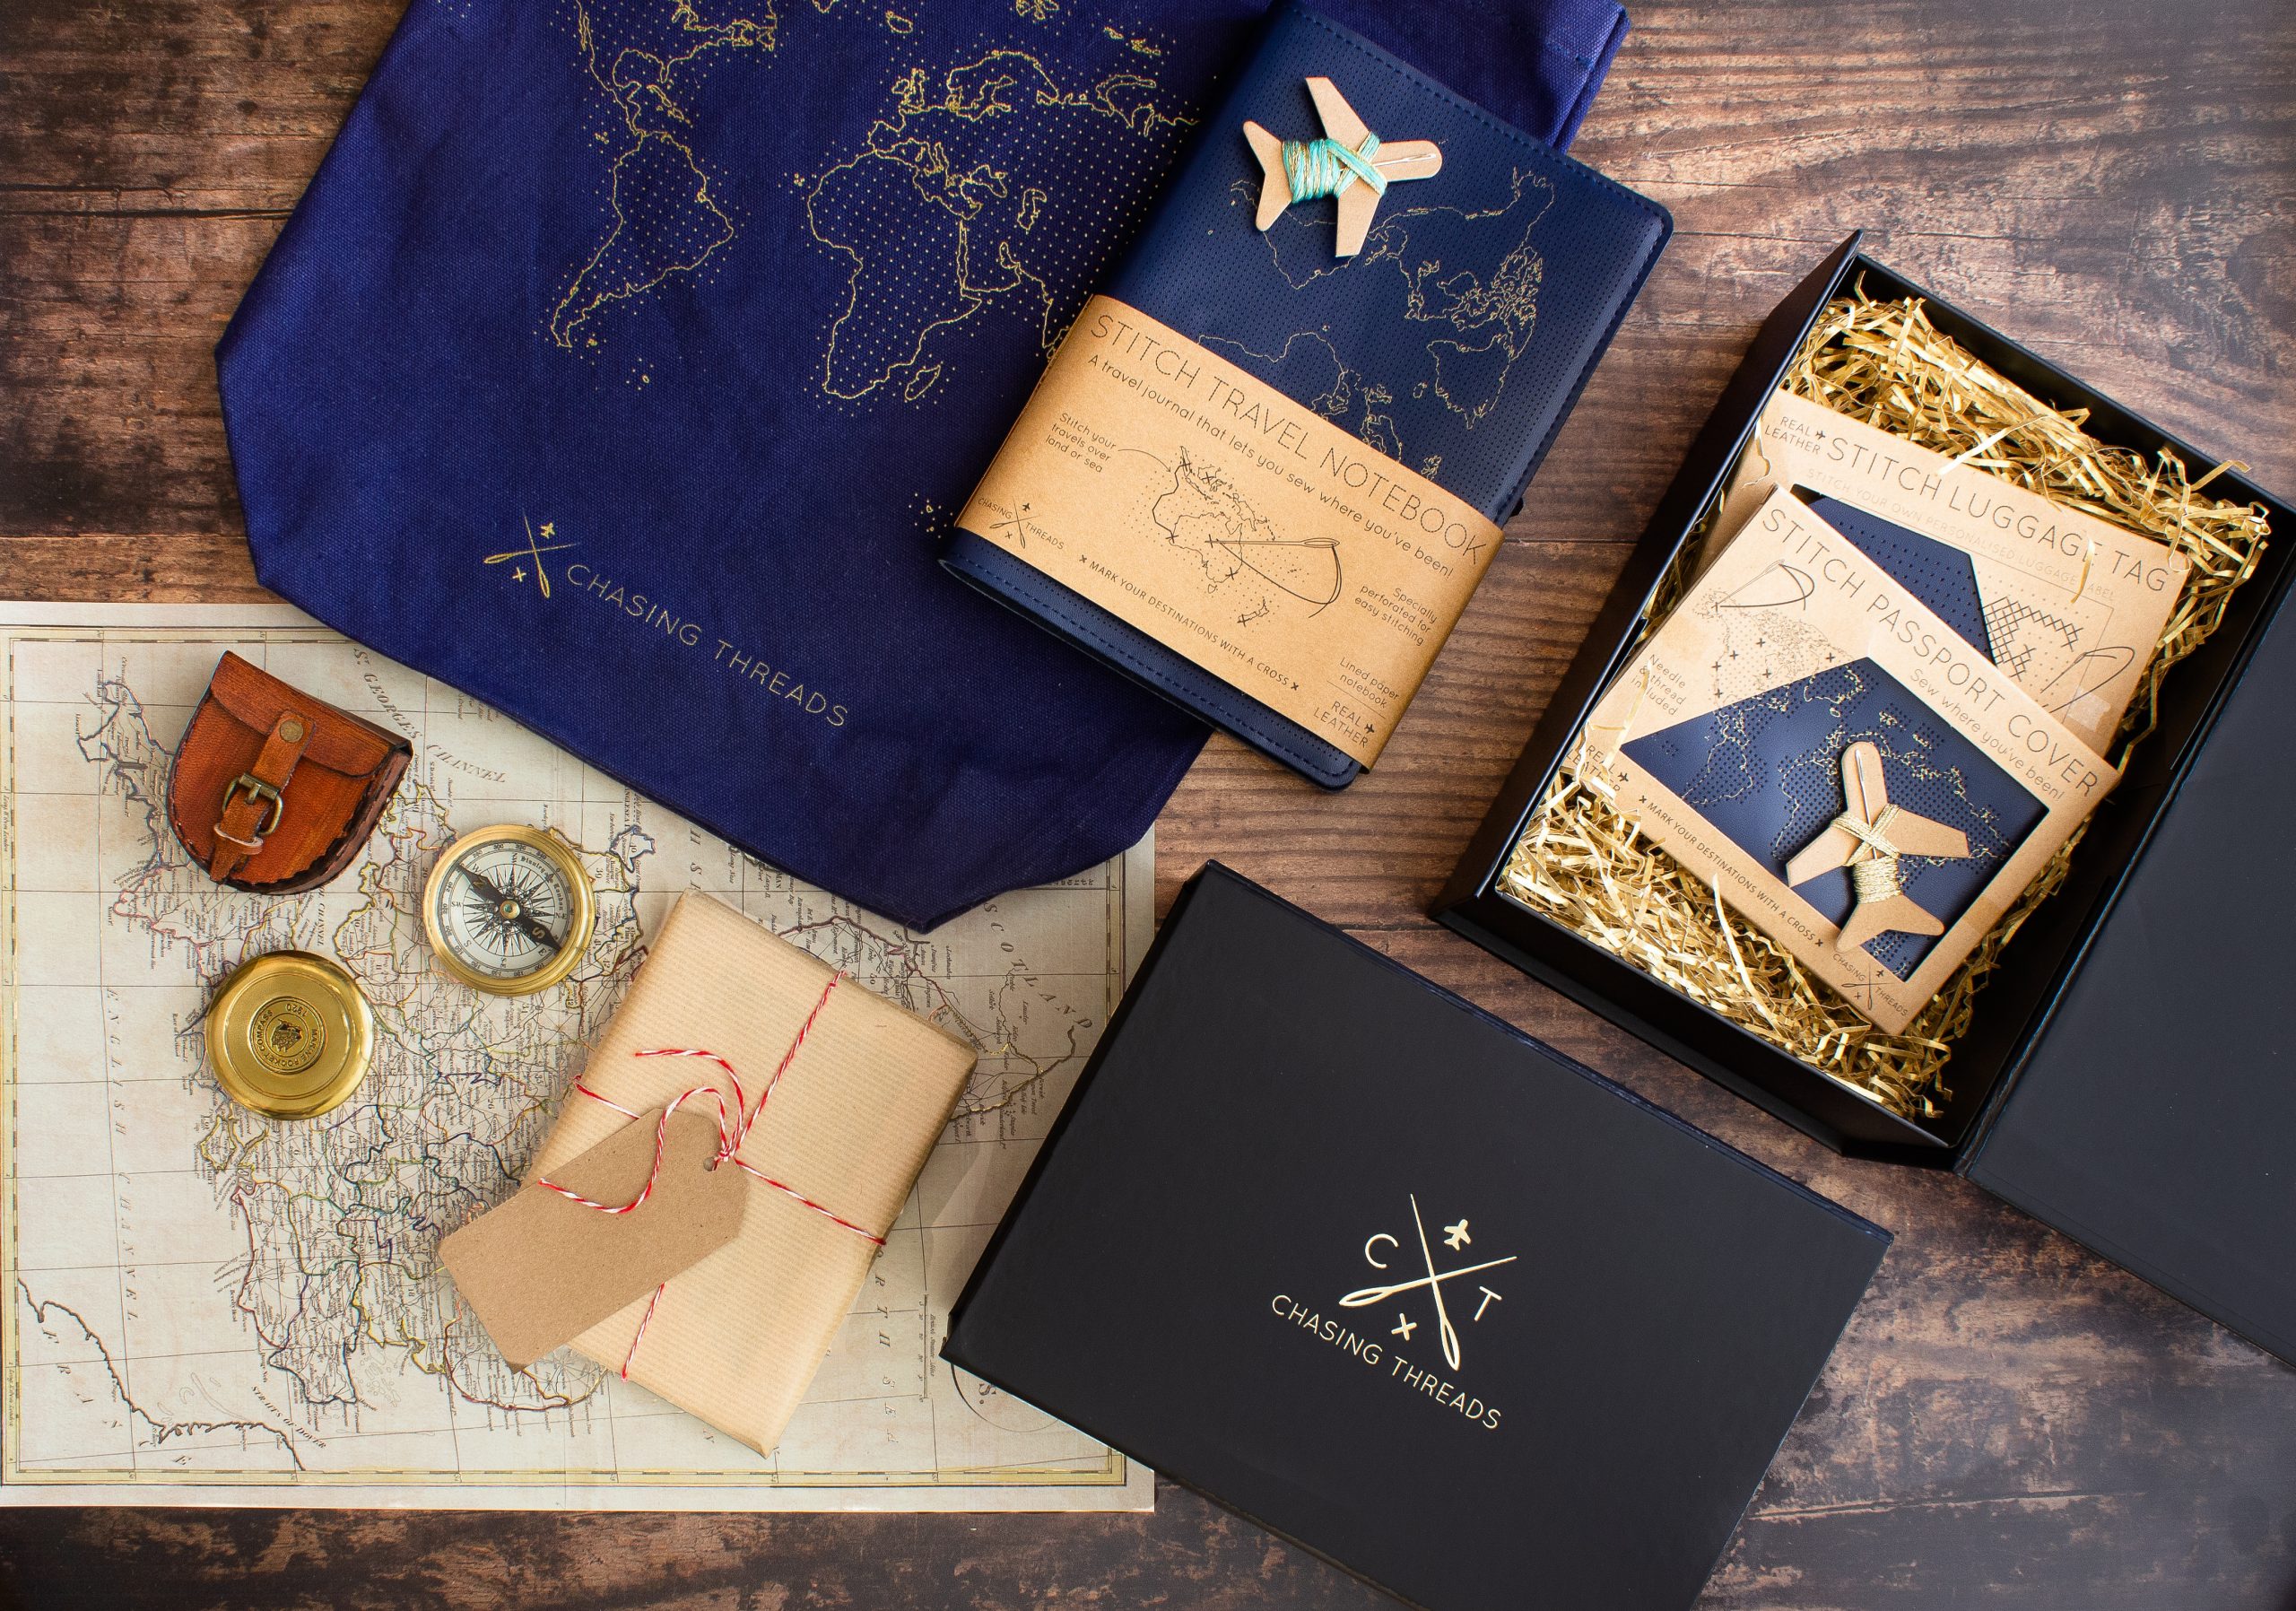
Set Up Your Props
What is the theme of your flat photo? You may have a beauty blog and in that case, the answer is quite straightforward – cosmetic! Or you may be looking for things that are not that specific, like a feeling of excitement. Whatever you want, keep the theme in mind when selecting props for a consistent look.
Choose a lot of props (more than you can use) so you can switch things around when composing your shot. Also, try to choose items of different sizes and shapes to generate visual interest. Finally, when selecting props, it’s a good idea to keep the colour palette in mind – this will help create the polished look you want.
Tip: Leave a little room between each object when you set up your shot. This will keep the image from looking cluttered and highlight the props.
Set the Camera Just Right
To position the camera over a flat layer, you obviously need a certain height. You can stand on a chair or a small ladder and hold your camera directly down, but a tripod will make everything easier and safer – both for you and your rig!
Some tripods come with a column centre that can tilt, allowing you to position the camera downwards in a vertical position. Another option is to add a sidearm that can attach to the tripod. You can then attach the arm to the camera and tripod head so that the arm extends to the flat position.
To prevent the arm from possibly tipping over you can use a counterweight and attach it to the other end of the arm.
Tip: To make sure you have the correct focus from back to front, maximise your depth of field and select manual mode or aperture priority and choose a narrow aperture, such as f/16. It will require a longer shutter speed to get a clear, crisp shot. This is why a tripod is perfect to use.


Recommended Equipment
Tripod
Invest in a quality tripod if you want to do flat lay photography. It will allow you to position your camera so that it is at a complete standstill. One with a small bubble level would be even better.
A Tethering Cable or App
Control the camera from a mobile device or laptop with a physical cable or digital tethering app. Then you can adjust the camera settings and see the photo results without having to remove the camera from a C-stand or tripod.
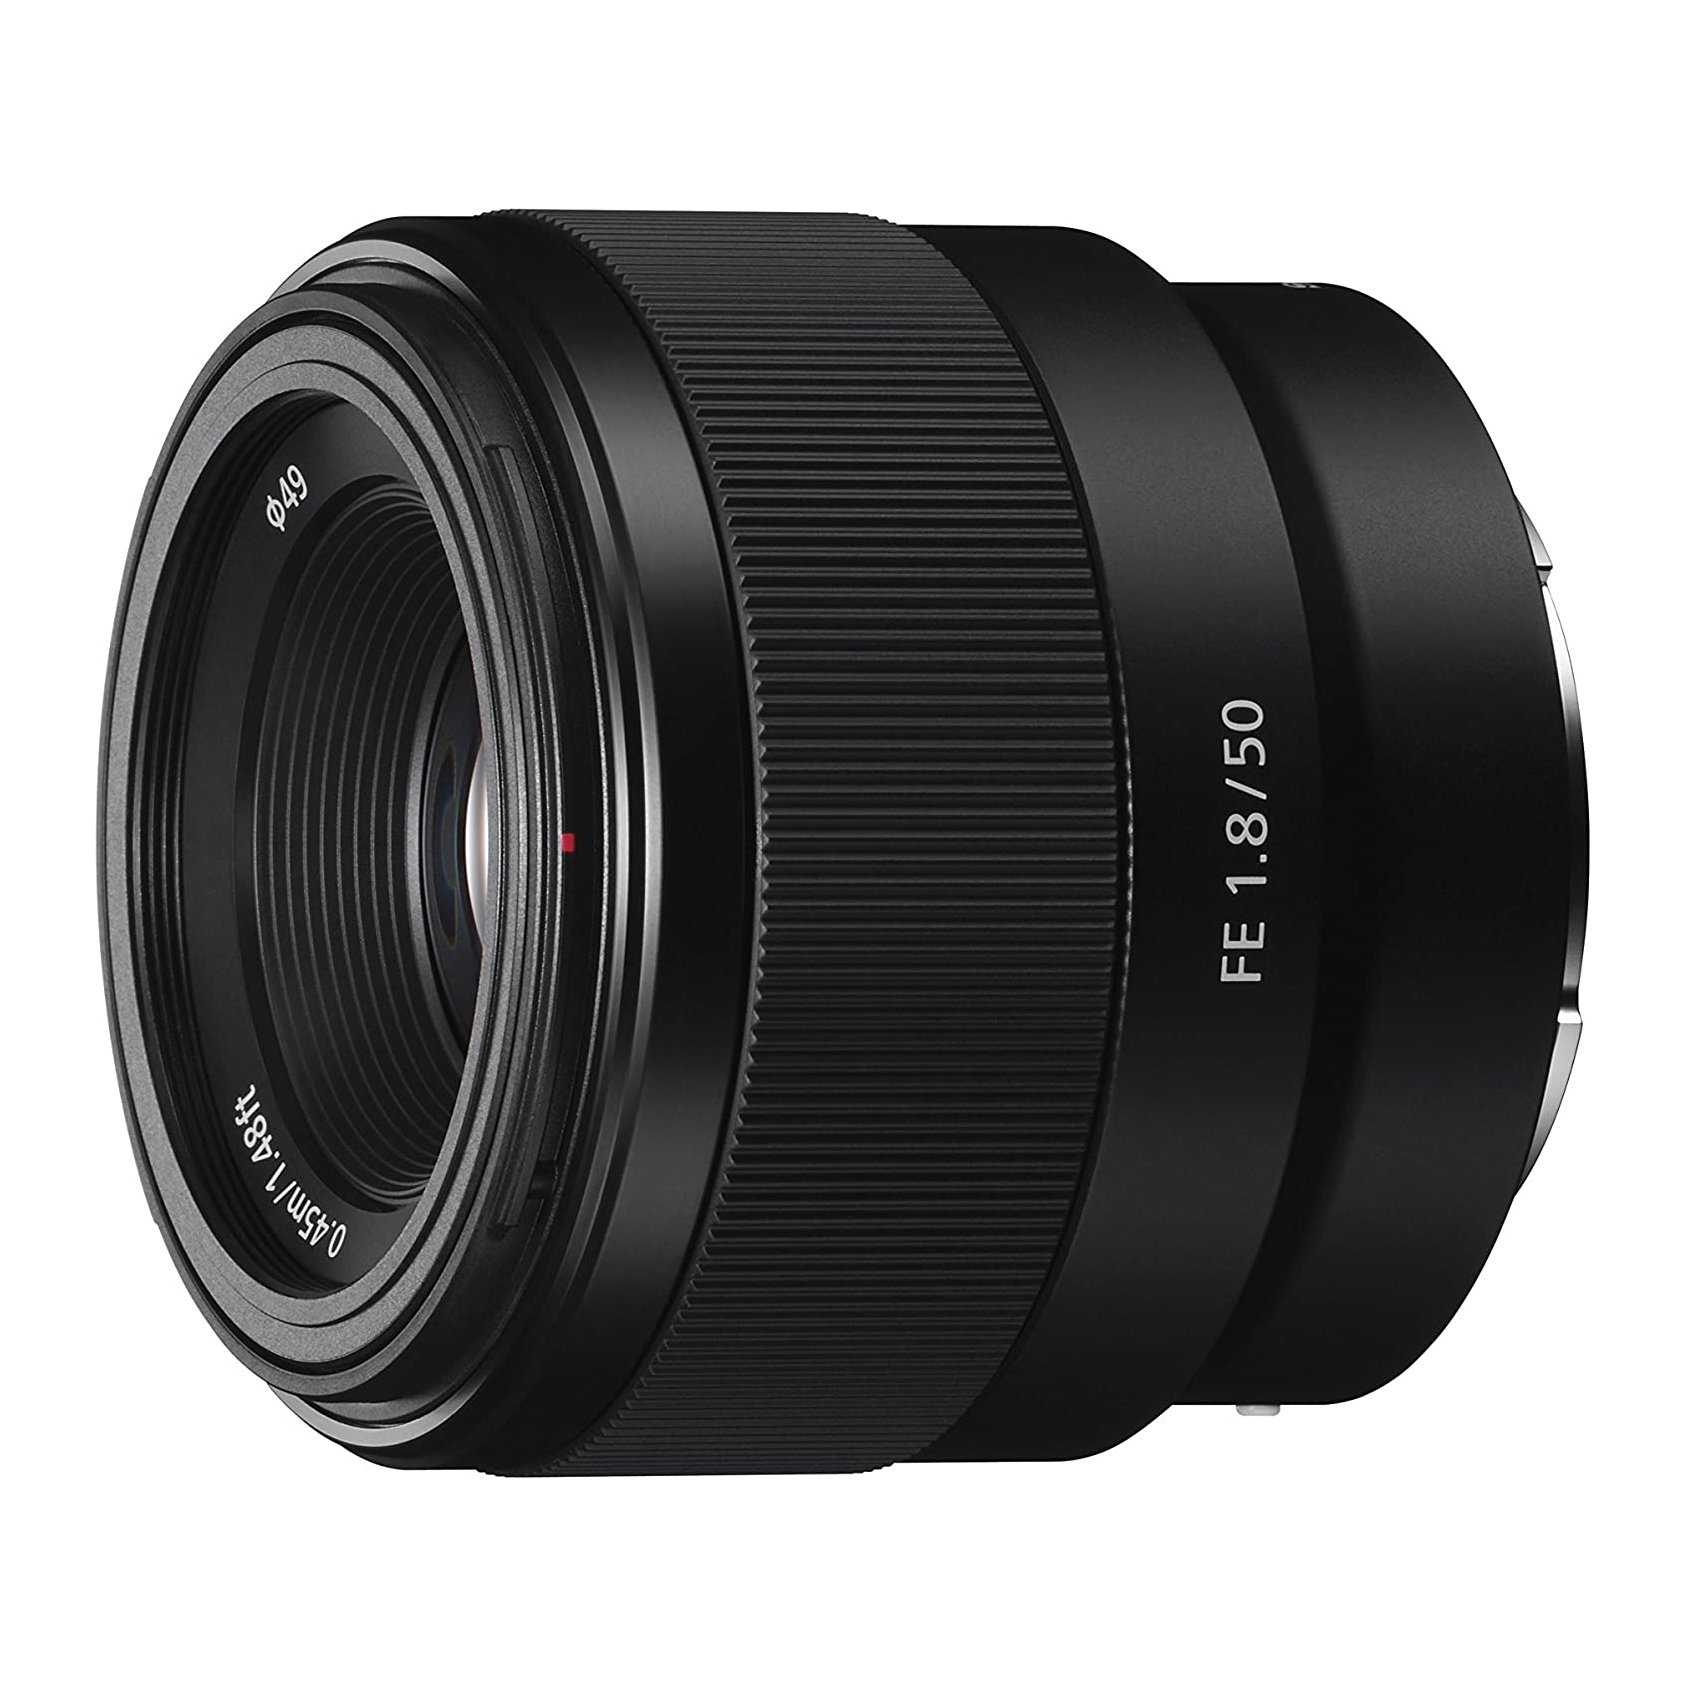
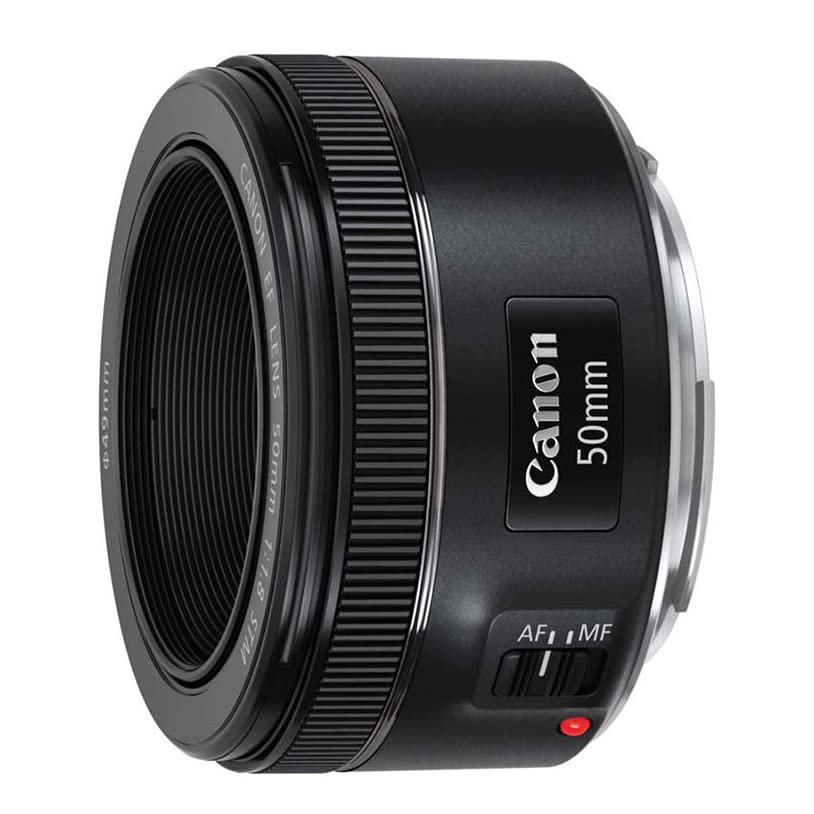
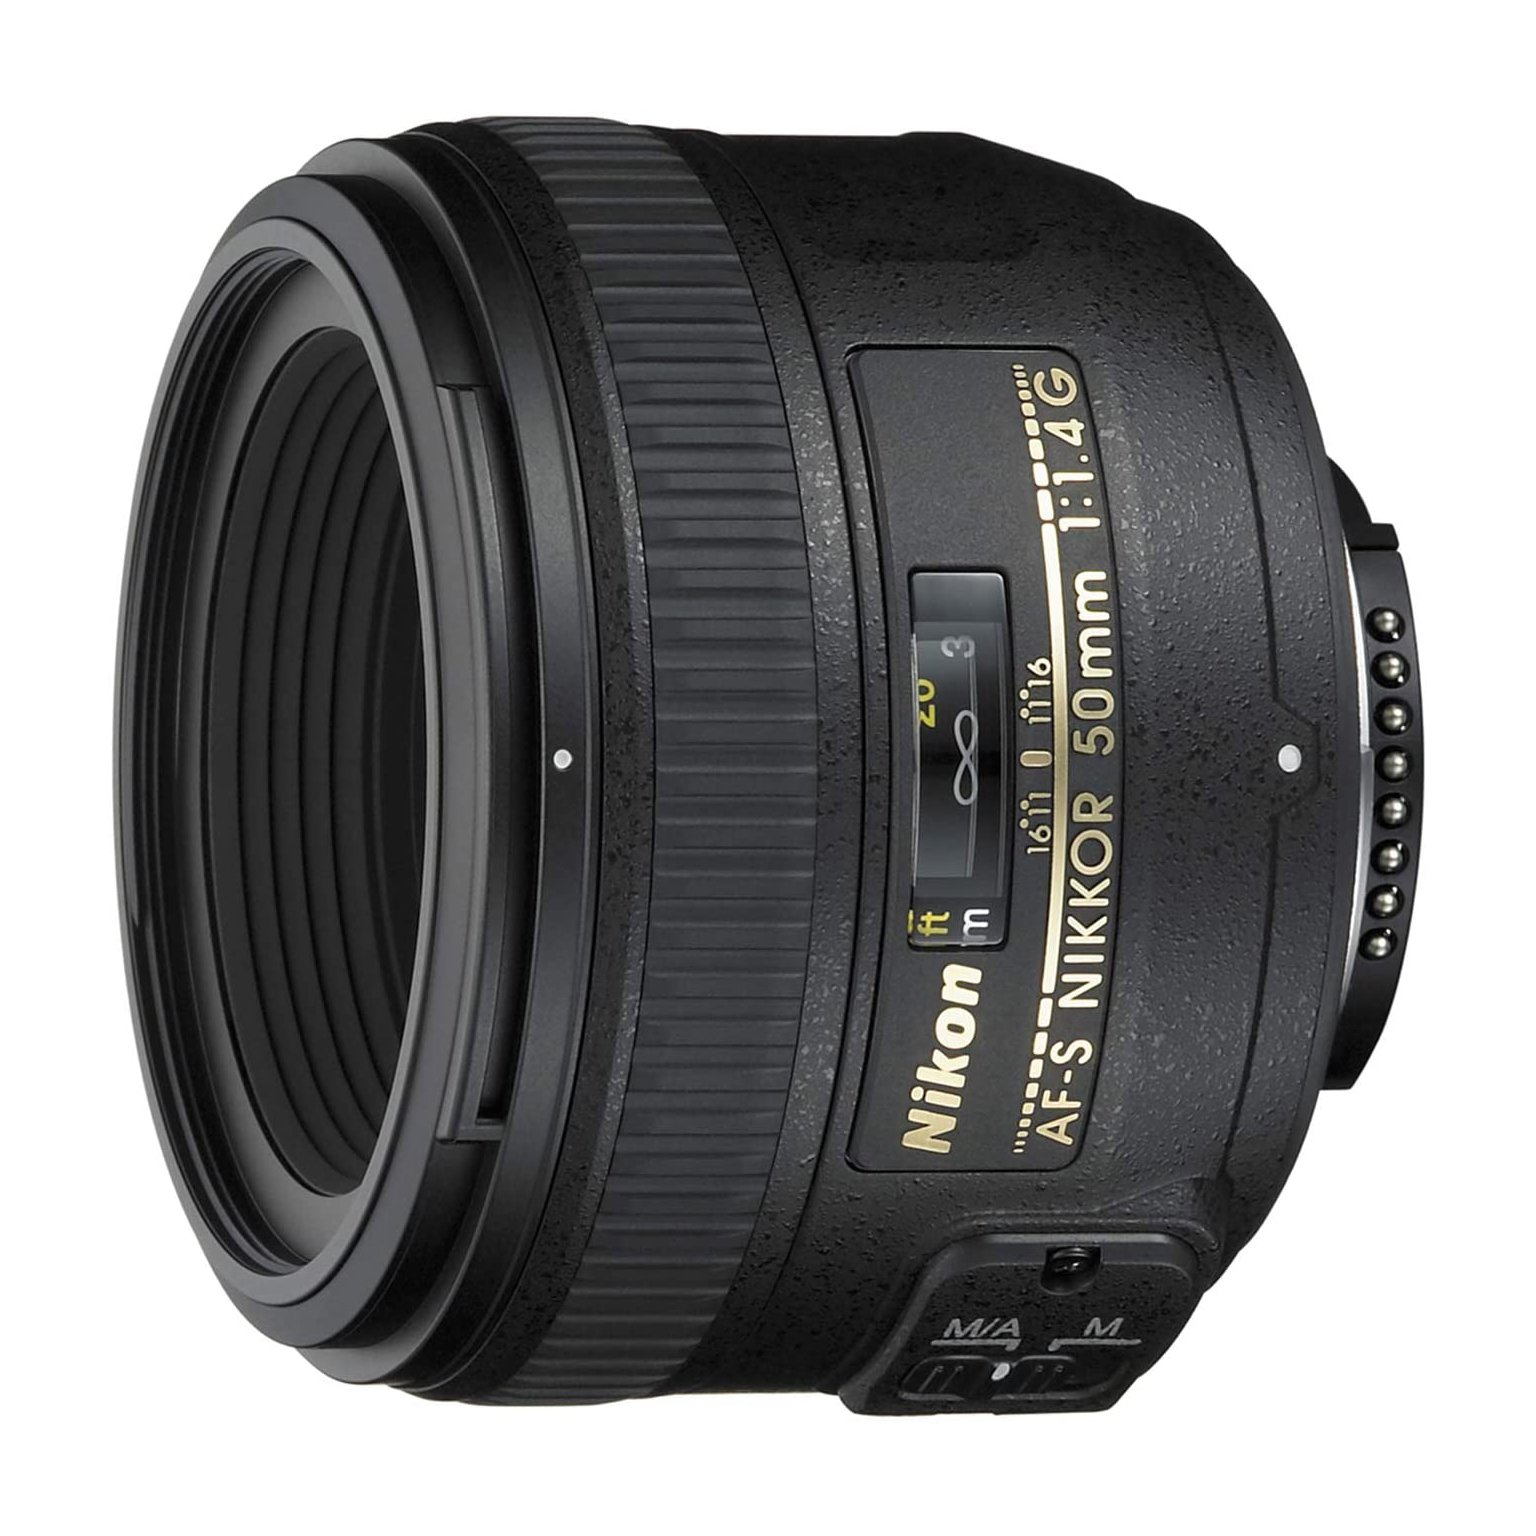
The Correct Camera Lens
Turn on the camera’s grid guide and align the most important elements on the grid cross. It will help you use the rule of thirds to arrange the composition. You can capture the entire flat position without any distortion, by using the right lens. A good rule of thumb is to use a 50mm lens, as anything bigger, especially around 100mm, tends to be too close to the props.
Post-Editing Tips
There are many great editing software and tools available and one of the most popular ones is Adobe Photoshop Lightroom. From adding watermarked graphics to adjusting the brightness, you can breathe real life into your flat lay image.
Full or partial cropping of elements can benefit a perfectly flat image. Some photographers believe that it is important that some objects are not completely in the frame, so it looks like there’s a bigger scene going into it and it draws the viewer in.


